The Americans with Disabilities Act (ADA) sets the standard for accessible design, and this includes the very ground your customers and visitors walk on: your sidewalks. For property owners, understanding and adhering to ADA-compliant sidewalk design isn’t just a matter of legal obligation; it’s about ensuring equal access for everyone, fostering inclusivity, and protecting your business from potential liabilities.
According to a study on the prevalence of disability in the United States, these standards are critical, as roughly one in four adults has a disability, and 11.1% of them experience a mobility disability that can be significantly impacted by sidewalk accessibility.
In this guide, we’ll walk you through the essential elements, from the path of travel and precise measurements to surface quality and long-term maintenance. Understanding these standards is the first step in protecting your investment, ensuring your patrons’ safety, and creating a welcoming environment for every visitor.
The Problem Non-Compliant Sidewalks Create
The daily operations of a busy commercial site depend on the seamless flow of people. When sidewalks and pedestrian routes fail to meet ADA standards, this flow is dangerously interrupted, creating significant risks that extend far beyond a simple inconvenience. For individuals with mobility impairments, an inaccessible path is a complete barrier, effectively denying them access to your business and services.
Understanding the High Cost of Inaccessibility
Beyond denying access, non-compliant sidewalks are a breeding ground for safety incidents. A cracked concrete panel, a steep, unmarked curb, or an abrupt level change can easily become the site of a trip event, leading to falls and injuries.
These incidents often result in formal complaints, insurance claims, and, in many cases, litigation under Title III of the ADA, which governs public accommodations and commercial facilities.
Legal and Financial Liabilities for Property Owners
An inspector visiting your site will look for these specific barriers, and an incident report detailing a “near miss” or an actual injury can trigger a formal investigation and a demand for immediate corrective action.
Proactive maintenance and quick repairs are the most effective forms of claim prevention, reducing your exposure to costly settlements and legal fees that cities themselves have often faced for inaccessible public ways.
According to a Final Rule issued by the Department of Justice, the maximum civil penalty for a first violation under Title III of the ADA is $75,000, and the maximum for a subsequent violation is $150,000, underscoring the significant financial risk of non-compliance.
Can I be sued personally if my commercial property’s sidewalk isn’t ADA-compliant?
Yes. While lawsuits often target the business entity or LLC that owns the property, plaintiffs may also name individuals with significant control over the property (like owners or property managers) in a lawsuit, potentially exposing them to personal liability.
What Counts as an Accessible Route Outside Your Building?
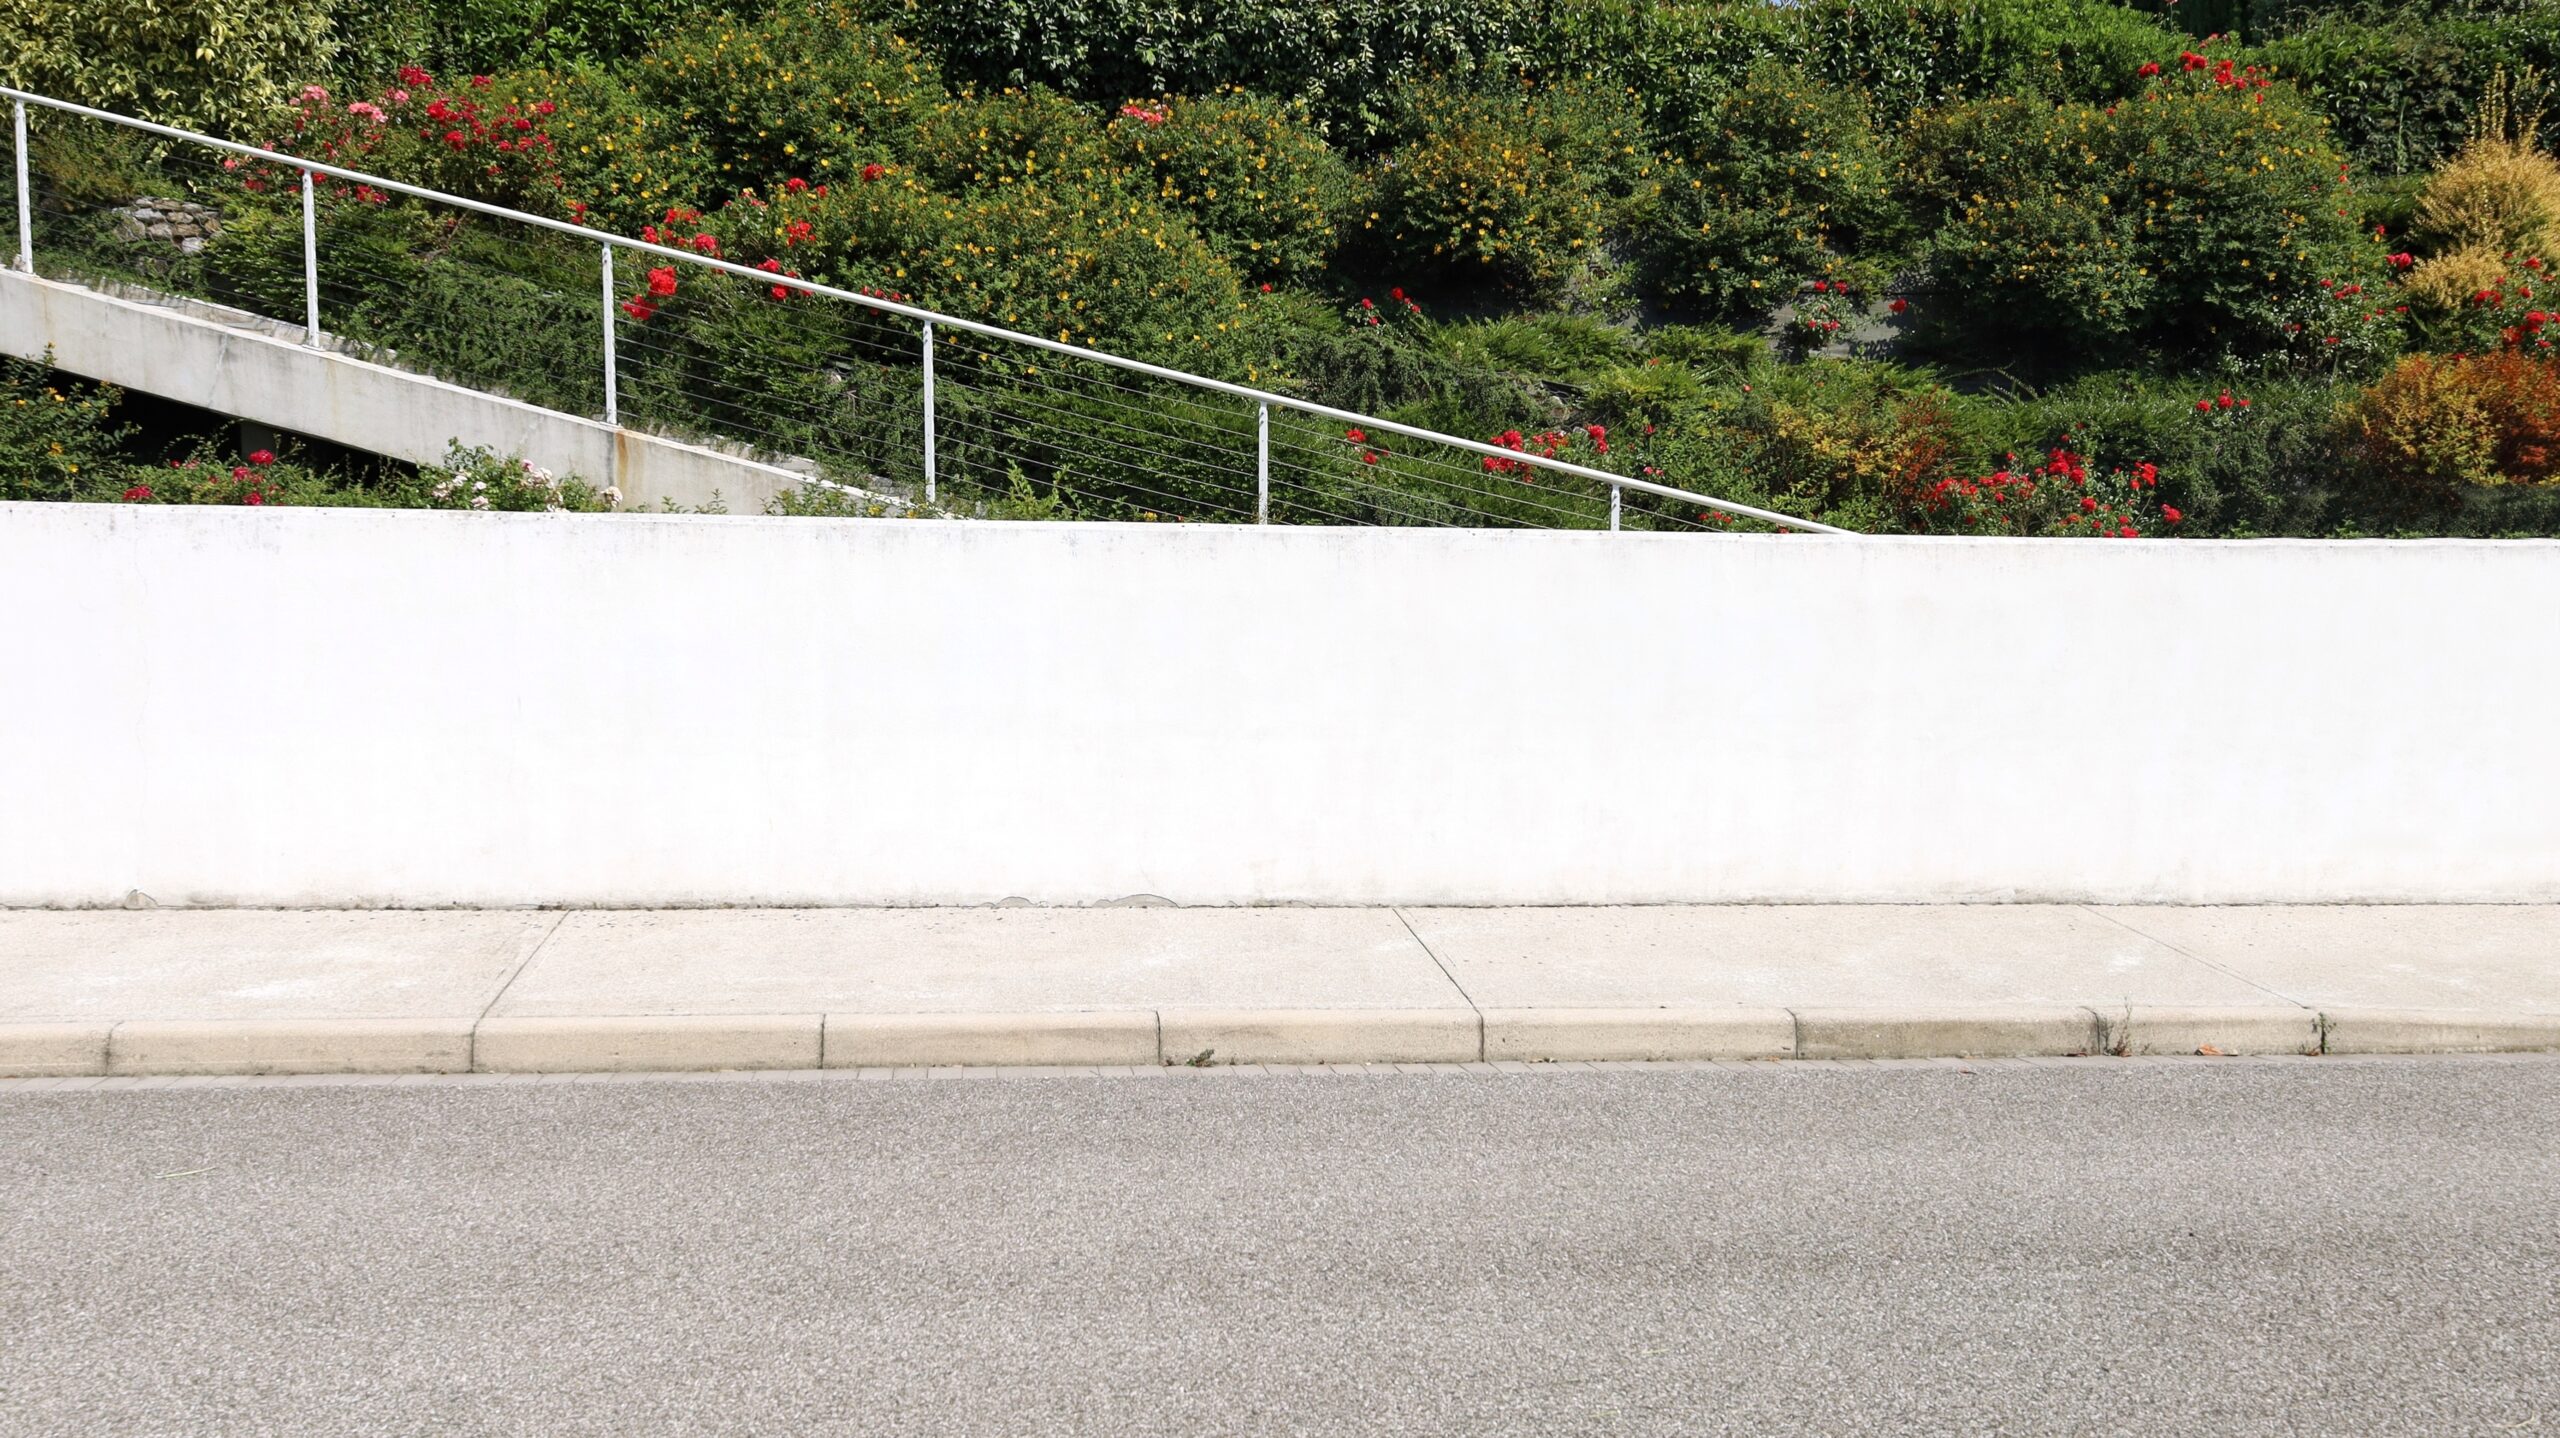
The concept of an accessible route is fundamental to ADA compliance. It’s not just about having a sidewalk; it’s about providing a continuous, unobstructed exterior path that allows individuals with disabilities to travel from their arrival point to your building’s entrance safely and independently. This critical pathway is the lifeline connecting various site elements into a cohesive, accessible whole.
Defining the Continuous Path of Travel
An accessible route begins the moment a visitor leaves their vehicle. It must connect ADA-compliant parking stalls and their adjacent access aisles to the nearest accessible sidewalk. Route continuity is paramount.
This means the path must be free of steps, curbs (unless a proper curb ramp is provided), or any other abrupt changes in level that would impede a person using a wheelchair, walker, or other mobility aid.
According to the 2010 ADA Standards for Accessible Design, this accessible route is essential for providing equal access, and when alterations are made to a primary function area, the path of travel to that area must also be made accessible
Key Connections: From Parking to Entrance
From the parking area, the route must proceed directly to the primary accessible entrance of your building. The path of travel must be clear, logical, and easy to navigate for everyone, free from any obstructions that would force a person to backtrack or navigate a hazardous area.
Does an “accessible route” have to be the shortest route to the entrance?
Not necessarily. The accessible route must be a safe, continuous path to the accessible entrance. While it should be as direct as possible, sometimes providing a compliant route means creating a slightly longer path to avoid stairs, steep slopes, or other barriers. The key is continuity and compliance, not just the shortest distance.
Measurements You Must Get Right: Width, Passing, and Headroom
Now that we’ve established the continuous path of the accessible route, let’s zoom in on the specific dimensions that define that path. Getting these numbers right from the project’s inception is crucial, as errors in width, spacing, or overhead clearance can be costly and difficult to fix after concrete has been poured. These measurements are not suggestions; they are minimum requirements that ensure genuine accessibility.
The Non-Negotiable Minimum Clear Width
The minimum width for any accessible route is 36 inches. According to research on sidewalk compliance, this minimum width is critical, though some guidelines for public rights-of-way recommend a wider 60-inch corridor to serve as a ‘pedestrian access route,’ with allowances to reduce it to 48 inches at specific points like driveways or around fixtures.
This measurement is absolute and must be maintained along the entire length of the path, free from any encroachments. Effective site plan design often calls for a more generous width, especially in high-traffic areas, to allow for comfortable two-way passage.
Planning for Passing Spaces on Long Routes
On long, constrained paths where the 36-inch minimum is used, you must include a passing space at reasonable intervals—not to exceed 200 feet. A passing space is a 60-inch by 60-inch T-shaped or circular area that allows two wheelchair users to pass one another.
According to the ADA Standards (§403.5.3), these passing spaces must be at least 60 × 60 in and placed at intervals no longer than 200 ft.
Ensuring Adequate Headroom Clearance
Just as important is headroom clearance. The accessible route must have a minimum vertical clearance of 80 in, free from protruding objects like signs, tree branches, or architectural elements. According to the ADA Standards (§307.4), a minimum headroom of 80 in must be maintained along the accessible route
Do trees or bushes growing into the sidewalk path count as an obstruction?
Absolutely. The minimum 36-inch clear width and 80-inch headroom must be maintained at all times. Overhanging branches, overgrown shrubs, or sidewalk furniture that encroaches on this space are considered barriers and must be addressed as part of routine maintenance.
Slopes That Pass Inspection
One of the most technically challenging aspects of ADA sidewalk design is achieving the correct slopes. Even a slight deviation can render a path unusable or non-compliant. Inspectors use digital levels to verify these grades, and getting them right is non-negotiable.
Running Slope vs. Cross Slope: What’s the Difference?
There are two primary slopes to consider. The running slope is the grade of the sidewalk in the direction of travel. The cross slope is the grade perpendicular to the direction of travel, designed primarily for drainage. Both are strictly regulated. A field check with a level is essential during construction to ensure every layout stake and form is set correctly before the pour.
When a Sidewalk Becomes a Ramp
Any section of the sidewalk with a running slope steeper than 1:20 (or 5%) is considered a ramp and must adhere to a different set of rules, including maximum slopes of 1:12 (8.33%) and the inclusion of level landings at the top, bottom, and at specific intervals. The cross slope must not exceed 1:48 (or 2.083%).
According to a 2022 study on accessibility prioritization, the cross slope must not exceed 1:48 (or 2.083%).
Here is a table summarizing the key dimensional and slope requirements for accessible sidewalks and ramps:
| Feature | ADA Requirement | Notes |
| Clear Width | Minimum 36 inches | Continuous and unobstructed. |
| Passing Space | Minimum 60″×60″ | Required if path is less than 60″ wide, at intervals ≤200 ft. |
| Headroom Clearance | Minimum 80 inches | Free of signs, branches, or other protruding objects. |
| Running Slope | Maximum 1:20 (5%) | The slope in the direction of travel. |
| Cross Slope | Maximum 1:48 (2.083%) | The slope perpendicular to travel, for drainage. |
| Ramp Running Slope | Maximum 1:12 (8.33%) | For any section with a running slope steeper than 1:20 (5%). |
| Ramp Landings | Minimum 60″ long, width of ramp | Required at top and bottom, and for every 30″ of vertical rise. |
| Changes in Level | ≤1/4″ vertical | No treatment needed. |
| Changes in Level | >1/4″ to ≤1/2″ | Must be beveled with a slope no steeper than 1:2. |
| Changes in Level | >1/2″ | Must be treated as a ramp. |
Why is the cross slope limited so strictly? It seems very flat.
The strict 1:48 (or 2.083%) limit on cross slope is critical for safety and usability. For a person using a manual wheelchair, a steeper cross slope would force them to constantly correct their steering to avoid veering off the path, which is both exhausting and dangerous. This gentle slope allows for necessary water drainage without compromising navigational control.
Curb Ramps Explained in Plain Language
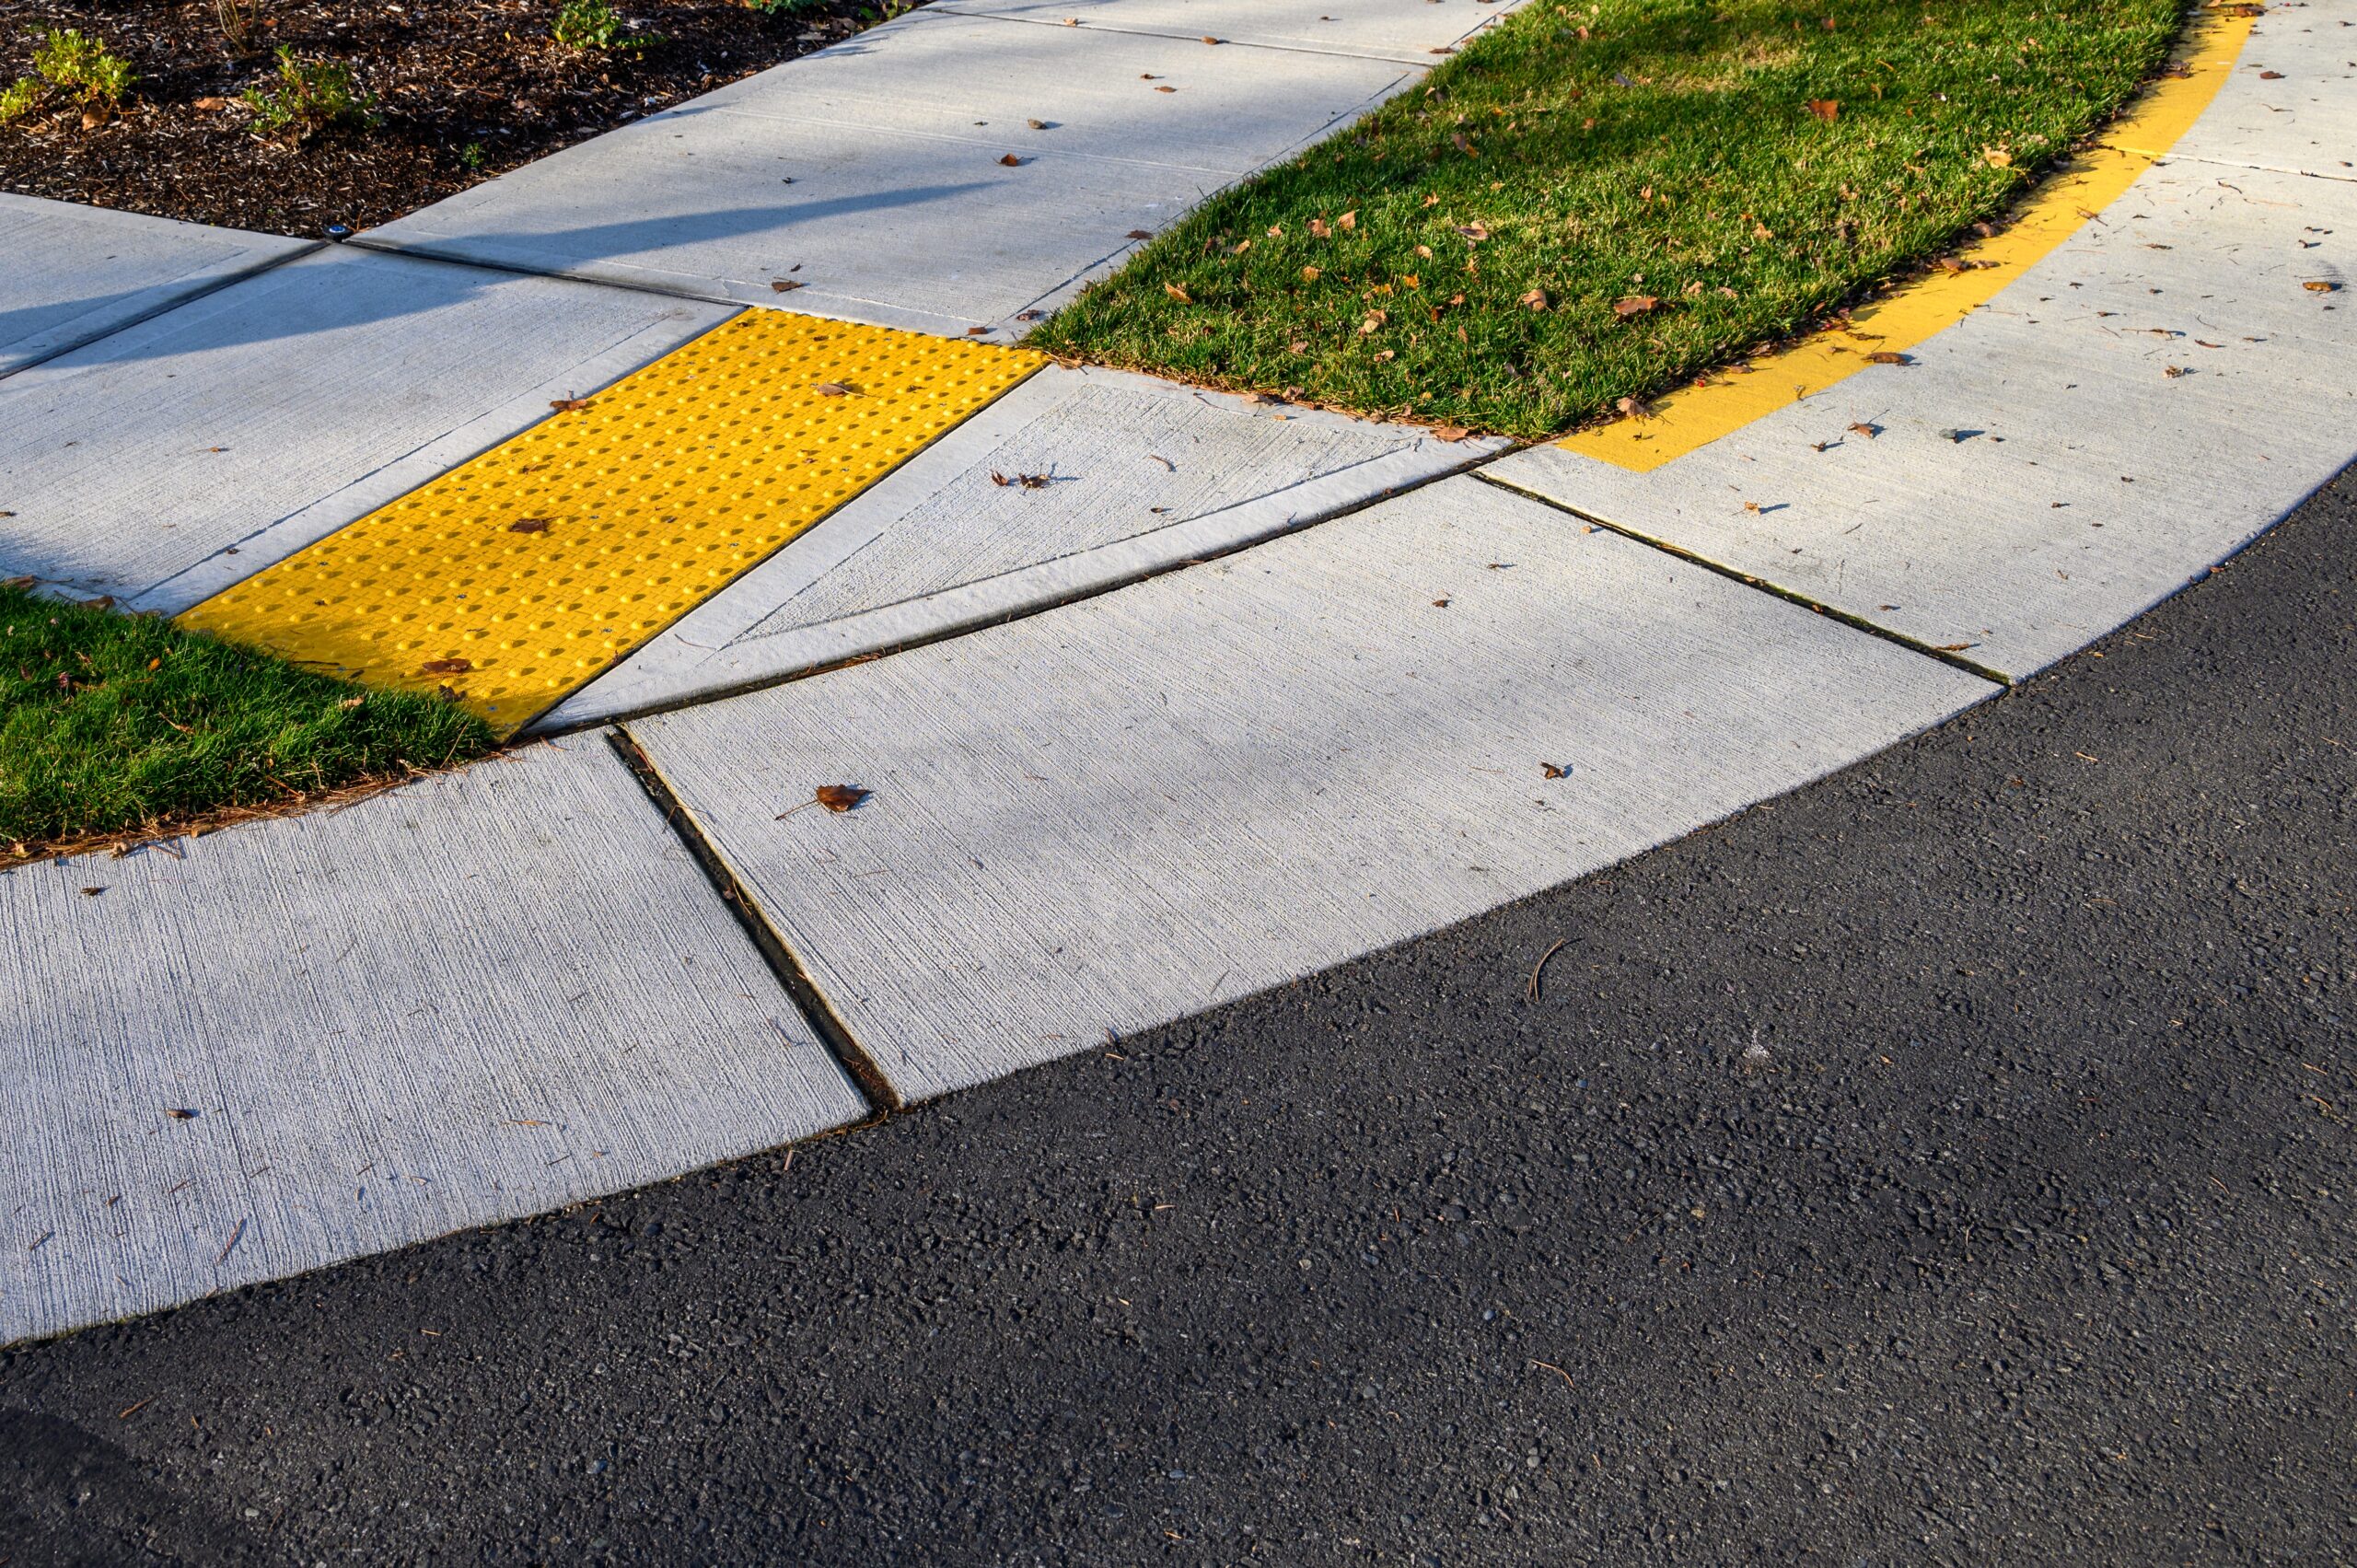
Curb ramps are the essential link that connects sidewalks to streets, crosswalks, and parking areas. They are a common feature, but creating a fully compliant curb ramp involves a precise combination of slopes, landings, and surface treatments. A poorly designed curb ramp can be a significant barrier and safety hazard.
Common Types of Curb Ramps
There are several types, but two are most common. Perpendicular curb ramps descend directly into the street. Parallel curb ramps run along the curb line before a landing turns them toward the street, often used in areas with limited sidewalk depth. Both types require a level top landing to provide a staging area for users.
Essential Components: Landings, Flares, and Warnings
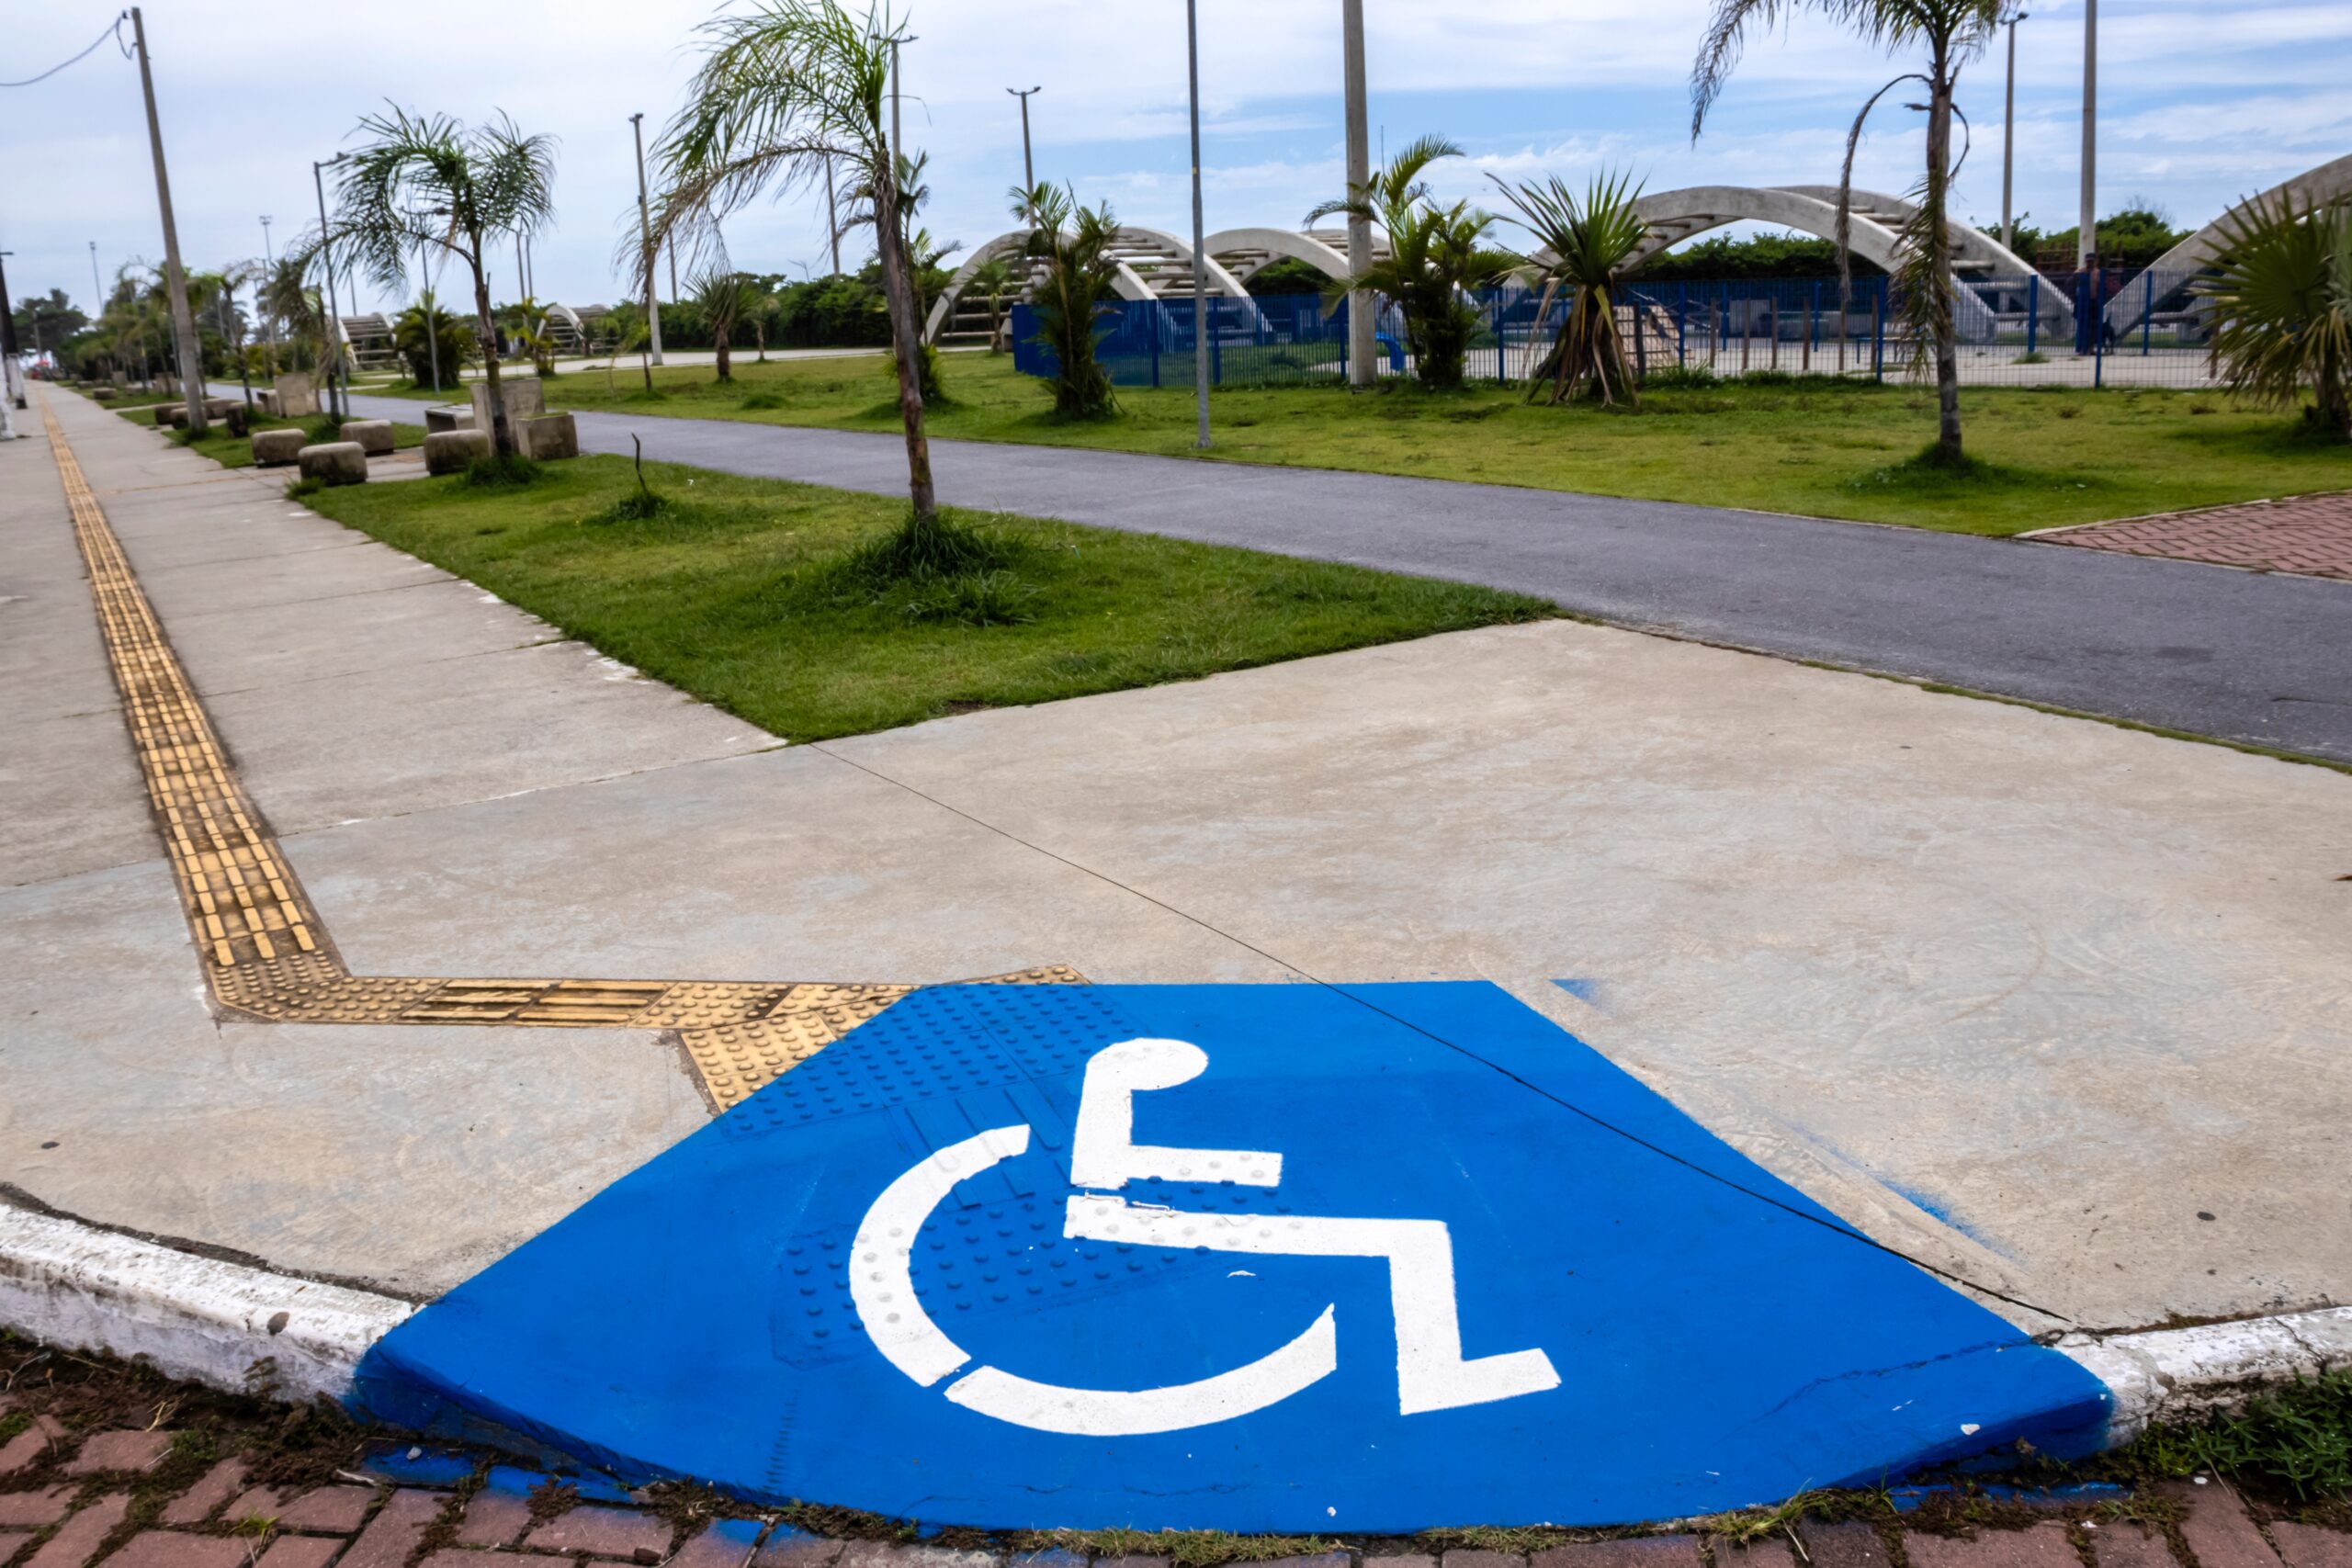
The ramp itself has a maximum slope, and the side flares—the sloped transitions on the sides—also have their own slope limits to prevent tripping. The most critical safety feature is the detectable warning surface, a grid of truncated domes that provides a tactile cue to visually impaired individuals that they are approaching a street edge where it meets the gutter. This surface must have visual contrast with the surrounding sidewalk and cover the full width of the ramp’s bottom edge.
Are the bumpy, colored tiles (detectable warnings) required on all curb ramps?
Yes, detectable warnings are required on curb ramps where they lead into a vehicular way, such as a street or a dangerous driveway crossing. They are not required for ramps that lead from one pedestrian area to another (e.g., from a sidewalk to a plaza). Their purpose is specifically to warn visually impaired pedestrians of the boundary between the pedestrian path and a vehicle path.
Surface Quality and Trip Hazard Control
Beyond the macro-level design of routes and ramps, the micro-level quality of the sidewalk surface itself is a key component of ADA compliance. The standards require surfaces to be firm, stable, and slip-resistant. For property owners, this translates into an ongoing responsibility to prevent and correct trip hazards.
Identifying and Measuring Trip Hazards
The ADA has specific thresholds for what constitutes a trip hazard. Any vertical displacement, or lip, greater than 1/4 inch must be addressed. For level changes between 1/4 inch and 1/2 inch, the edge must be beveled at a slope of 1:2 or gentler. Any vertical change greater than 1/2 inch must be removed or treated as a ramp.
Solutions for Uneven Surfaces: Grinding, Beveling, and Replacement
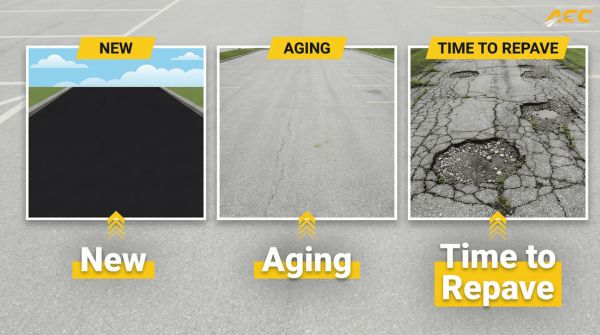
In Colorado’s climate, the freeze-thaw cycle can cause settlement and spalling. Common solutions include grinding down small lips, using a sawcut to create a clean, beveled edge, or full replacement of broken panels. Proper joint sealant and crack sealing and effective drainage systems are crucial preventative measures to stop water from infiltrating joints, which can lead to ponding, freezing, and eventual surface failure.
Is a crack in the sidewalk a violation, or just a vertical lip?
A simple hairline crack is typically not an ADA violation on its own. The violation occurs when the crack causes a vertical displacement (a lip) of more than 1/4 inch between two surfaces, or if the crack is wide enough (typically over 1/2 inch) to catch a cane tip or wheelchair wheel. The focus is on the hazard it creates, not the crack itself.
Driveway Crossings and Tricky Transitions
Driveway crossings are points of inherent conflict where the pedestrian accessible route intersects with a vehicular path. These transitions are frequently a source of non-compliance because they introduce complex, competing slope requirements that must be carefully managed. The goal is to maintain the continuity of the accessible route without creating a hazard.
Maintaining a Level Path Across Driveways
When a sidewalk crosses a driveway apron, the cross slope through the crossing area must not exceed the maximum of 1:48 (2.083%). This is often violated when the driveway slope is too steep. The ideal solution is a flush transition that keeps the entire pedestrian crossing area as level as possible.
Managing Slopes at the Gutter Line
Another critical measurement is the counter slope of the gutter pan where it meets the street; this transition must be smooth and avoid creating a lip or abrupt grade break. The flow line of the gutter needs to be managed to prevent water from ponding in the pedestrian path.
Who is responsible if someone trips at the driveway crossing—the property owner or the driver?
The property owner is responsible for the design, construction, and maintenance of the sidewalk and driveway apron on their property. This includes ensuring it is free of trip hazards and has compliant slopes. While a driver has a duty of care, the physical condition of the crossing is the property owner’s liability.
When Rules Apply: ADA Standards and PROWAG in the Right of Way
Understanding which set of accessibility rules applies to your property can be confusing, as it often depends on whether the sidewalk is on private property or within the public right-of-way. The distinction is critical for determining your responsibilities.
Private Property vs. Public Right-of-Way
For sidewalks located entirely on your private commercial property, the governing document is the 2010 ADA Standards for Accessible Design. For sidewalks in the public right-of-way (e.g., the city sidewalk in front of your business), many municipalities have adopted the Public Right-of-Way Accessibility Guidelines (PROWAG).
What Triggers a Compliance Upgrade?
New construction and alterations are the primary triggers for compliance. An “alteration” is any change that affects the usability of a facility, and it requires the altered portion to be brought up to current code. Furthermore, local ordinances often assign the responsibility for maintaining the public sidewalk to the adjacent property owner. Always verify requirements with your local authority to avoid a deficiency list after an inspection.
If my city approved my building plans, does that guarantee I am ADA compliant?
No, not necessarily. A city permit and inspection sign-off ensure compliance with local building codes, which may or may not encompass all federal ADA requirements. The ADA is a federal civil rights law, and compliance is the property owner’s responsibility, independent of local plan reviews. You can be compliant with city code but still be in violation of the ADA.
Inspection and Documentation Owners Can Manage
Proactive compliance is always more cost-effective than reactive repairs. As a property owner, you can manage and mitigate your risk by implementing a simple, routine inspection and documentation system. This creates a clear record of your due diligence and helps you plan for necessary repairs before they become urgent problems.
Creating a Proactive Inspection Routine
We recommend conducting quarterly walk-throughs of your property with a tape measure, a 24-inch digital level, and a camera. Create an inspection log and use a site map to note the location of any potential issues, such as cracked panels, excessive slopes, or trip hazards.
Tools and Techniques for Self-Audits
Photo documentation with date stamps is invaluable for tracking the condition of your sidewalks over time. From this log, you can create a punch list, assign a priority ranking to each item based on severity, and begin to budget for repairs. This proactive approach allows you to group smaller items into a larger scope of work for a contractor as part of your annual plan.
How often should I formally inspect my property’s sidewalks for ADA issues?
While a quick visual check should be part of daily routine, a more formal, documented inspection using tools like a level and tape measure should be done at least annually, and ideally quarterly. This is especially important in Colorado, where freeze-thaw cycles can create new issues rapidly between seasons.
How Asphalt Coatings Company Delivers ADA-Aware Sidewalks
At Asphalt Coatings Company, we understand that ADA compliance is more than just pouring concrete; it’s about delivering a safe, accessible, and durable solution that protects your property and welcomes all visitors. Our end-to-end approach ensures every detail is managed with precision, from initial assessment to final closeout.
Our End-to-End Compliance Process
Our process begins with a thorough site walk and takeoff, where we use a slope laser and other tools to identify all existing deficiencies. We analyze site grading and drainage to ensure the new design will shed water correctly. During construction, our experienced crews meticulously handle forming and reinforcement to create a strong foundation.
Precision from Planning to Pour
We use high-quality mix designs appropriate for Colorado’s climate and employ expert finish techniques to ensure a durable, slip-resistant surface. We are proficient in the precise installation of tactile surfaces and coordinate seamlessly with our striping teams for a cohesive final product. After allowing for proper cure time, we conduct a final walkthrough and provide a comprehensive closeout packet.
What kind of documentation do you provide after a project to prove compliance?
Upon project completion, we provide a comprehensive closeout packet that includes photo documentation of the completed work, a summary of the scope performed, and, upon request, measurement verifications for critical slopes and dimensions. This packet serves as a valuable record of your proactive efforts to achieve ADA compliance.
Make Your Sidewalks Safer and ADA Compliant—Starting Now
If you manage a commercial property in Colorado and want sidewalks that feel smooth, pass inspection, and lower liability, Asphalt Coatings Company is ready to help. Our team can walk your site, document slopes and level changes, recommend a phased plan, and deliver concrete and striping work that ties your accessible route together—from ADA stalls to your front door. Request your free ADA sidewalk assessment and quote today at Asphalt Coatings Company, and let’s put a safer, more welcoming path in place for every visitor.
Frequently Asked Questions
1. Do I need to bring older sidewalks up to ADA standards if they were built before the law passed?
Yes. Sidewalks services must be maintained in an accessible condition regardless of when they were built. Existing sidewalks may require upgrades if they create barriers.
2. How often should sidewalks be inspected for compliance?
A visual inspection once or twice a year is a good rule of thumb, especially after winter or storm seasons when damage is more likely.
3. Can tree roots causing sidewalk damage be an ADA issue?
Absolutely. Heaving from tree roots often creates vertical displacements greater than 0.5 inches, which violates ADA standards and poses trip hazards.
4. What happens if I ignore ADA sidewalk requirements?
Non-compliance can result in lawsuits, fines, and orders to make repairs on short timelines. You may also be liable for injuries that occur on your property.
5. Is paint or striping enough for detectable warnings?
No. Detectable warnings must be textured truncated domes. Paint does not meet ADA standards and will not pass inspection.

