Is your parking lot looking worn out, confusing, or unsafe? Faded lines can lead to accidents, blocked driveways, and unhappy visitors, hurting your property’s image and functionality.
Ignoring parking lot line striping doesn’t just look unprofessional, it can lead to safety hazards, traffic flow problems, and even legal issues if you’re not ADA-compliant. Poorly marked lots leave drivers guessing and reduce the total number of usable spaces, costing you time and money.
The good news? You can avoid all of that by understanding the step-by-step process of professional parking lot striping. In this detailed guide, you’ll learn exactly how striping works, when to do it, and how it helps keep your lot safe, efficient, and looking great, all while meeting local and federal standards.
Let’s dive into the complete process of parking lot line striping and why it’s a smart investment for any property owner or manager.
Understanding Parking Lot Line Striping | What It Is and Why It Matters
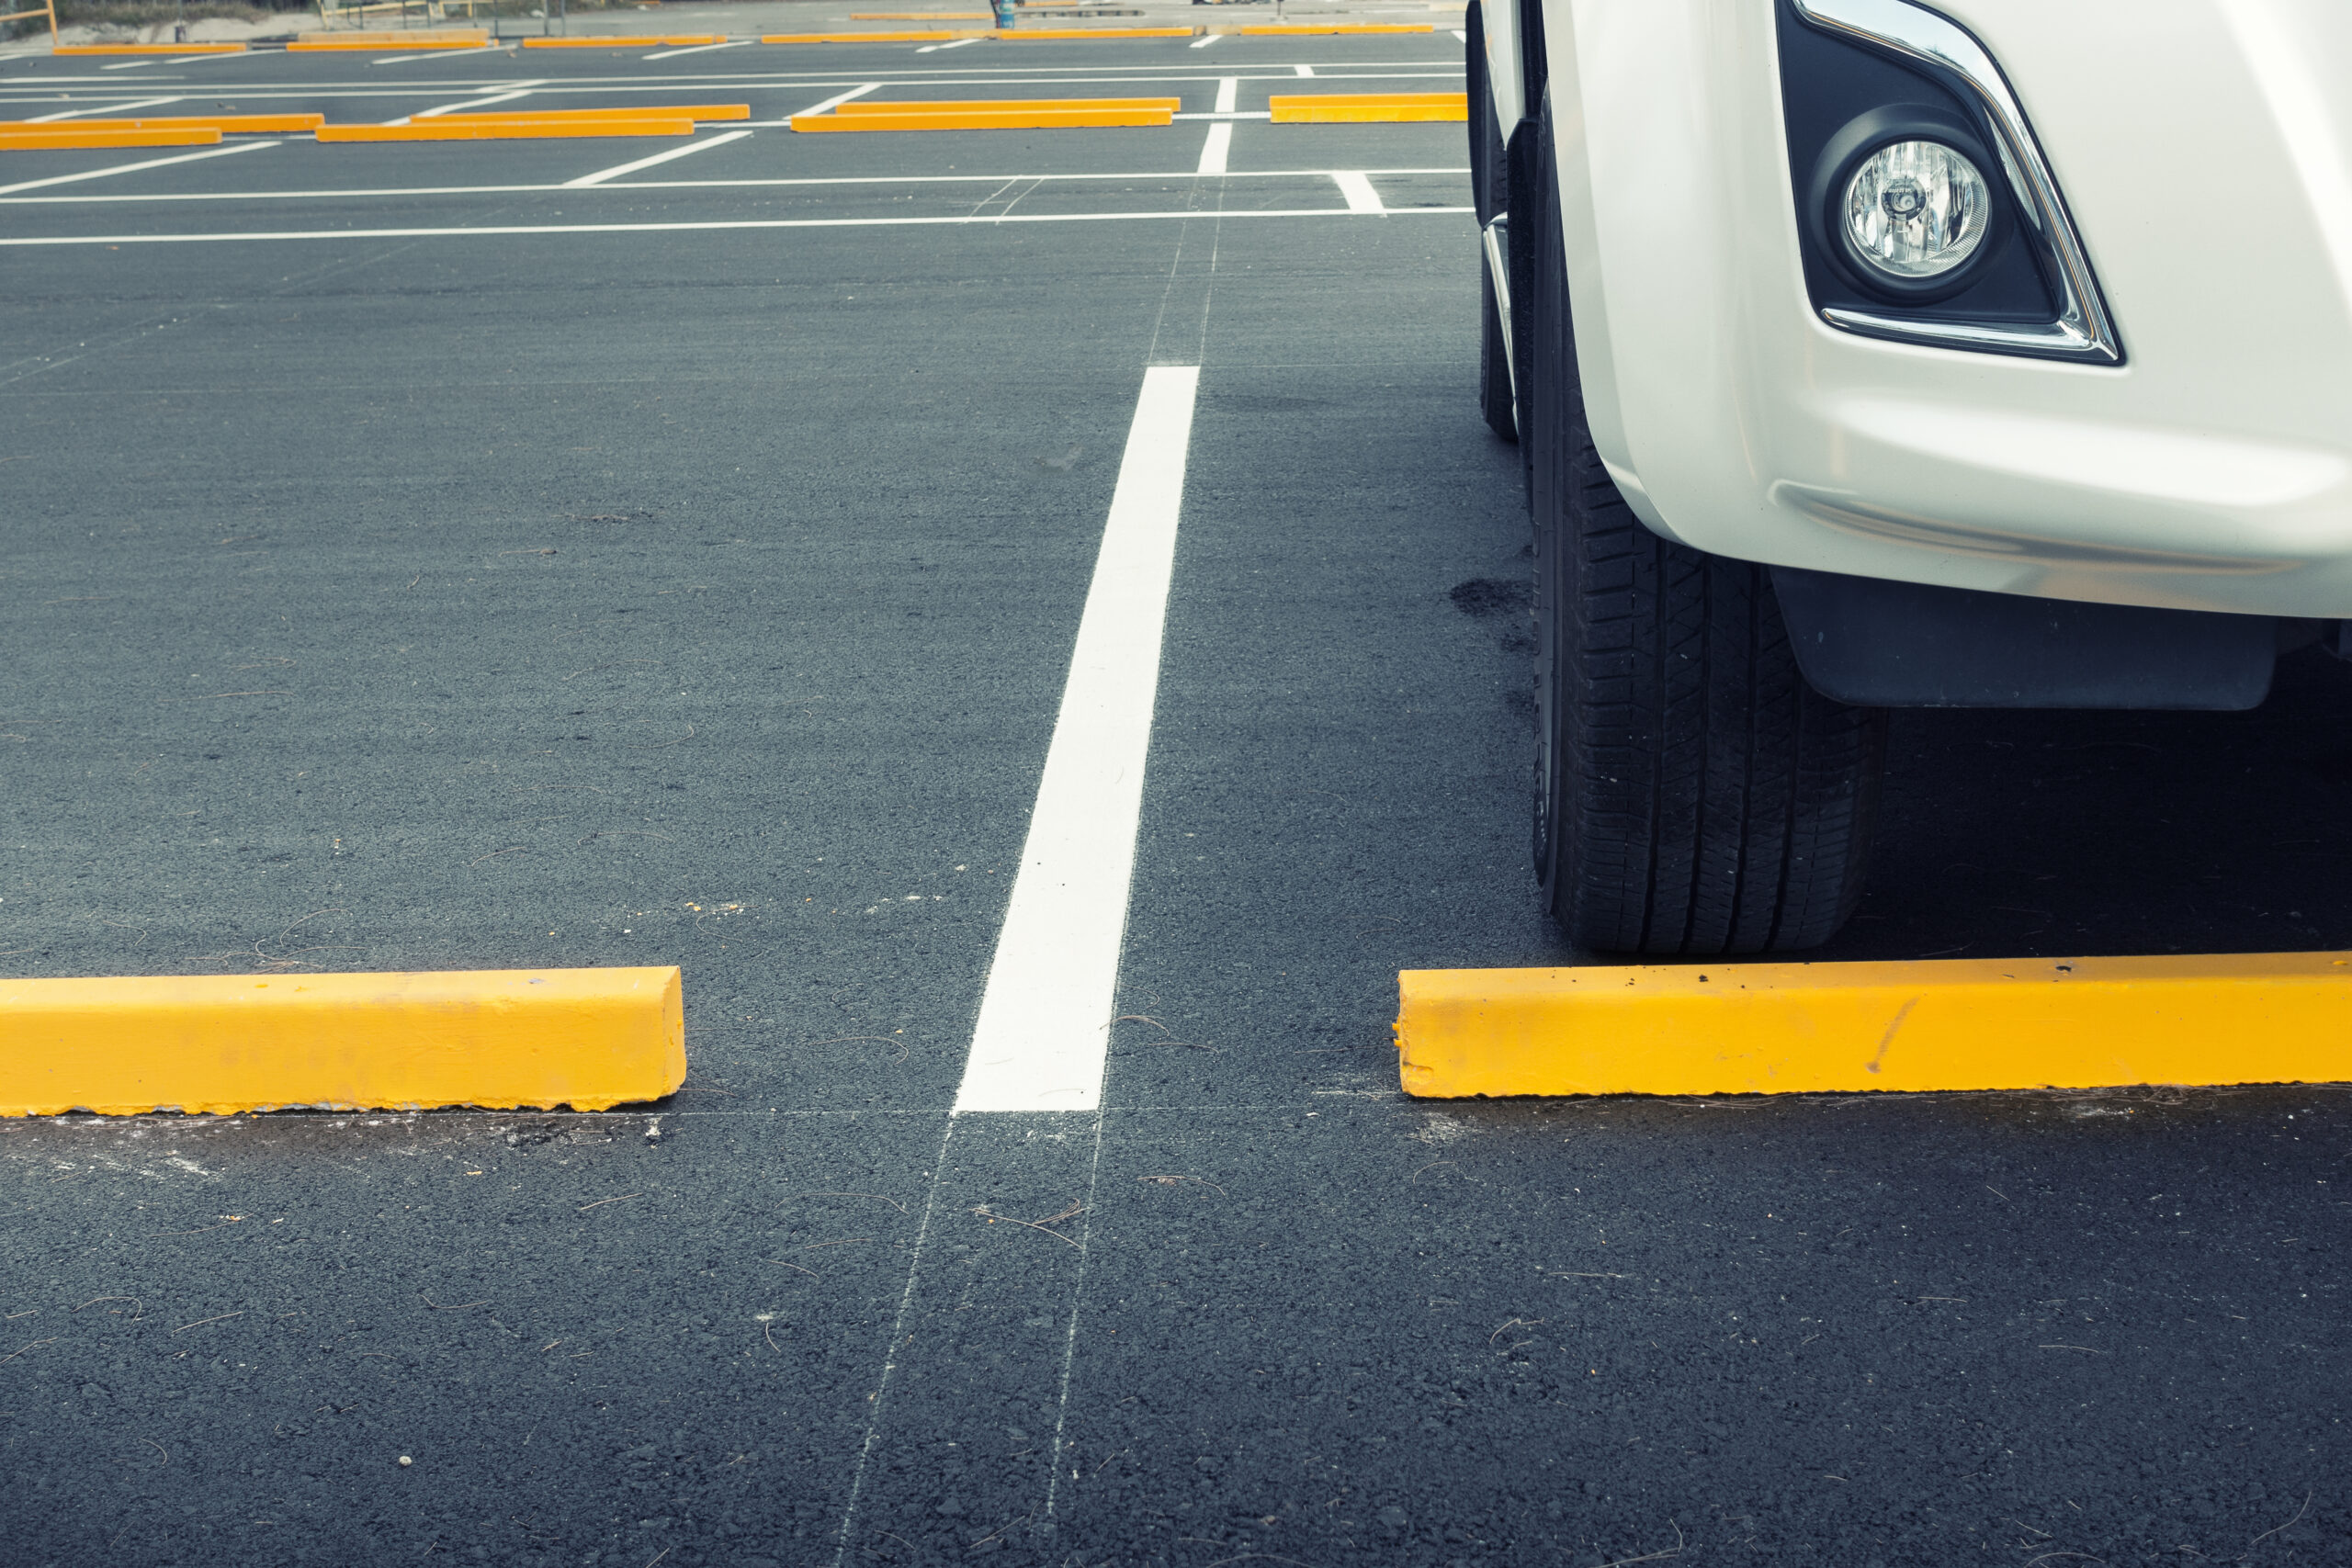
Parking lot line striping is more than just putting paint on pavement. It’s a detailed process of marking parking lots with clear, durable lines that guide both drivers and pedestrians. These lines indicate where vehicles should park, how traffic should flow, and where people can walk safely.
What is Parking Lot Line Striping?
Parking lot line striping refers to the application of painted lines and symbols on parking lots to organize vehicle spaces, walkways, loading zones, and designated handicapped parking spaces. It’s a key part of managing any commercial or residential parking space.
Good striping helps in:
- Improving safety: It reduces confusion and accidents by guiding traffic and people properly.
- Maximizing space: Properly laid lines help you get the most use out of your lot.
- Meeting legal rules: ADA-compliant striping is legally required for accessible spaces.
- Creating a professional image: Clean, visible lines give your property a well-maintained and trustworthy look.
Parking Lot Striping Process | Step-by-Step
Parking lot striping requires careful planning, meticulous preparation, and precise execution. Below is a complete step-by-step guide to help you achieve clean, safe, and ADA-compliant results.
Step 1- Evaluate and Plan the Layout
Before starting the striping process, it’s crucial to evaluate the current condition and layout of the parking lot. Inspect the asphalt surface for cracks, potholes, or oil spots that could affect the paint’s adherence.
Planning involves checking the number of spaces, traffic flow patterns, ADA requirements, fire lanes, and any necessary signage.
Use a site map or sketch to determine a layout that maximizes parking efficiency while ensuring safety. Measuring the entire space helps create a design that complies with local regulations.
Proper planning avoids rework and ensures compliance. This step saves time, money, and prevents legal penalties for failing to meet accessibility codes.
Step 2- Clean and Prepare the Surface
Surface preparation is vital for the longevity and visibility of the stripes. Begin by sweeping away debris like leaves, dirt, and rocks. Power washing may be necessary to remove oil stains and tough dirt.
A clean surface ensures that the paint bonds effectively to the asphalt. If the lot is oily, apply a degreaser before power washing. Ensure the surface is completely dry before painting. Moisture can lead to uneven paint or peeling over time.
Marking chalk can be used to pre-outline the spaces and traffic flow guides before applying permanent paint. Surface preparation plays a key role in the quality and durability of the final results.
Step 3- Choose the Right Stripping Paint
Selecting the correct type of paint is important for durability and visibility. The most commonly used types are water-based acrylic and solvent-based paints. For high-traffic areas, thermoplastic paint is often used due to its long-lasting nature.
Paint color also matters. White and yellow are standard for parking lines, blue for ADA-compliant spaces, and red for fire lanes. Reflective striping can be added for better nighttime visibility.
Ensure the paint complies with local and federal regulations. This ensures the paint withstands weather, traffic, and wear, reducing the need for frequent re-striping.
Step 4- Use Professional Striping Equipment
Professional striping requires precision, and using high-quality equipment is key. A walk-behind striping machine or a ride-on striper provides consistent line thickness and clean edges.
Laser guides or chalk lines can help keep stripes straight. If your lot includes directional arrows or symbols, use stencils designed for parking lot markings.
Using professional-grade equipment not only enhances appearance but also speeds up the project while maintaining accuracy. It’s also helpful for applying multiple coats evenly.
Step 5- Mark ADA Compliant Spaces
ADA (Americans with Disabilities Act) compliance is required for most public parking lots. This involves designating a specific number of accessible spaces based on the total parking spots.
Each space must have a clear access aisle, correct signage, and proper dimensions. ADA parking space markings should be clearly visible, and the blue ADA symbol must be painted within the designated area using reflective striping for enhanced visibility.
Consult the ADA guidelines for local requirements. Compliance helps avoid fines and ensures your facility is welcoming to all visitors, including those with disabilities.
Step 6- Apply the Paint Carefully
Once the layout is planned, the surface prepped, and materials gathered, start painting. Begin with one section at a time. Use stencils for symbols and ensure lines are even and consistent.
Apply at least two coats for long-lasting results. Let each coat dry properly before applying the next. Avoid walking or driving over the freshly painted areas.
Pay close attention to drying time and temperature conditions. Paint usually dries faster in warm, dry weather. Avoid stripping during rain or extremely humid conditions.
Step 7- Allow Paint to Cure
Even though paint may appear dry within minutes, full curing can take several hours. During this time, it’s important to restrict traffic to prevent smudging or peeling.
Use cones, barriers, or signs to block access. Refer to the manufacturer’s instructions for the exact curing times. Most water-based paints require at least 30 minutes to 1 hour of drying time before they’re touch-dry, but full curing can take up to 24 hours.
Proper curing ensures paint durability and helps you avoid premature fading or damage. It also provides long-term value and avoids rework costs.
Step 8- Add Additional Markings and Signage
After striping the parking spaces, add additional markings such as directional arrows, loading zones, no-parking zones, and pedestrian crosswalks. These improve the safety and functionality of the lot.
Install signs for ADA spaces, fire lanes, and loading areas. Signs must be placed at the correct height and location to meet local codes.
This step enhances organization and safety, making navigation easier for both drivers and pedestrians.
Step 9- Inspect the Lot for Quality Assurance
Once the stripping is complete and the paint has cured, inspect the entire lot. Look for uneven lines, faded areas, or missed spots.
Make any touch-ups needed and ensure all signs are properly mounted. Double-check ADA compliance and directional flow.
A final inspection helps maintain a professional appearance and ensures the long-lasting functionality of the product. It also minimizes liability in case of accidents or accessibility complaints.
Step 10- Schedule Regular Maintenance
Stripping isn’t a one-time job. To maintain clarity and safety, schedule regular inspections and repainting every 1–2 years or as needed. Factors such as traffic volume, weather conditions, and surface quality can affect the frequency of maintenance required.
Routine maintenance includes cleaning, seal coating the asphalt, and touch-up painting. Keeping the lot in top shape demonstrates that you care about your customers and enhances the property’s curb appeal.
Regular upkeep extends the life of your lot and helps avoid costly repairs or complete re-striping in the future.
Maintenance Tips for Longevity
Keeping your parking lot striping fresh and visible is essential for safety, appearance, and long-term savings. Here are key maintenance tips to extend the life of your striping:
- Clean Regularly: Sweep away dirt, leaves, and debris that can cover or fade the lines. Clean oil spots and chemical spills quickly to prevent damage to the paint.
- Inspect Frequently: Conduct routine inspections every few months. Look for signs of fading, cracking, or peeling paint. Early detection helps prevent bigger problems down the road.
- Repaint as Needed: Most lots require re-striping every 1–2 years, depending on weather conditions, traffic volume, and the quality of the asphalt. High-traffic areas may need more frequent touch-ups.
- Sealcoat the Surface: Sealcoating the asphalt every few years protects the surface and enhances the life of your striping. Always repaint lines after the seal coating is done.
- Check for ADA Compliance: Ensure accessible spaces remain marked and meet current regulations. Faded ADA symbols or missing signs can lead to costly fines.
- Repair Asphalt Damage: Fill cracks and patch potholes before they affect the paint. A smooth surface helps to stripe stay intact longer.
Regular parking lot maintenance doesn’t just enhance curb appeal; it also improves safety and helps you stay compliant with local and federal regulations. A well-maintained lot shows professionalism and care for everyone who uses your property.
Frequently Asked Questions
How often should parking lot striping be redone?
Parking lot striping typically needs to be redone every 1 to 2 years to maintain its clarity and visibility. However, the exact timing depends on the amount of traffic the lot receives and the prevailing weather conditions. Heavy use or exposure to harsh weather can cause paint to fade more quickly, necessitating more frequent maintenance.
Can stripping be done in cold weather?
Striping is best done when the temperature is above 50°F (10°C). Cooler temperatures can prevent the paint from drying and adhering properly to the surface. Painting in cold weather may result in an uneven coating or peeling, which reduces the durability of the striping.
Is ADA compliance necessary for all parking lots?
Yes, most public parking lots are required to follow ADA rules to ensure accessibility for people with disabilities. This includes marking accessible parking spaces with proper signage and striping. Meeting these standards is both a legal requirement and a way to make your facility welcoming to everyone.
What is the standard size for parking spaces?
A typical parking space measures approximately 9 feet wide and 18 feet long, providing sufficient room for most vehicles. However, these dimensions can vary depending on local laws and specific needs. Some places may have larger spaces for accessible parking or compact car zones.
Is professional equipment necessary for line striping?
Yes, using professional-grade striping machines ensures cleaner lines, better precision, and faster application, especially for large lots.
Keep Your Parking Lot Safe, Sharp, and Compliant
Proper parking lot line striping isn’t just about appearance; it’s about safety, legal compliance, and efficient space management.
By carefully following each step, from evaluation and surface prep to precise striping and ongoing maintenance, you ensure your lot looks professional and functions effectively for years to come.
If you’re ready to upgrade your parking lot or need expert guidance, Asphalt Coatings Company is here to help. Our skilled team delivers reliable, high-quality striping services tailored to your property’s unique needs. Contact us today and give your parking lot the precision it deserves!


